
You didn’t come this far to stop
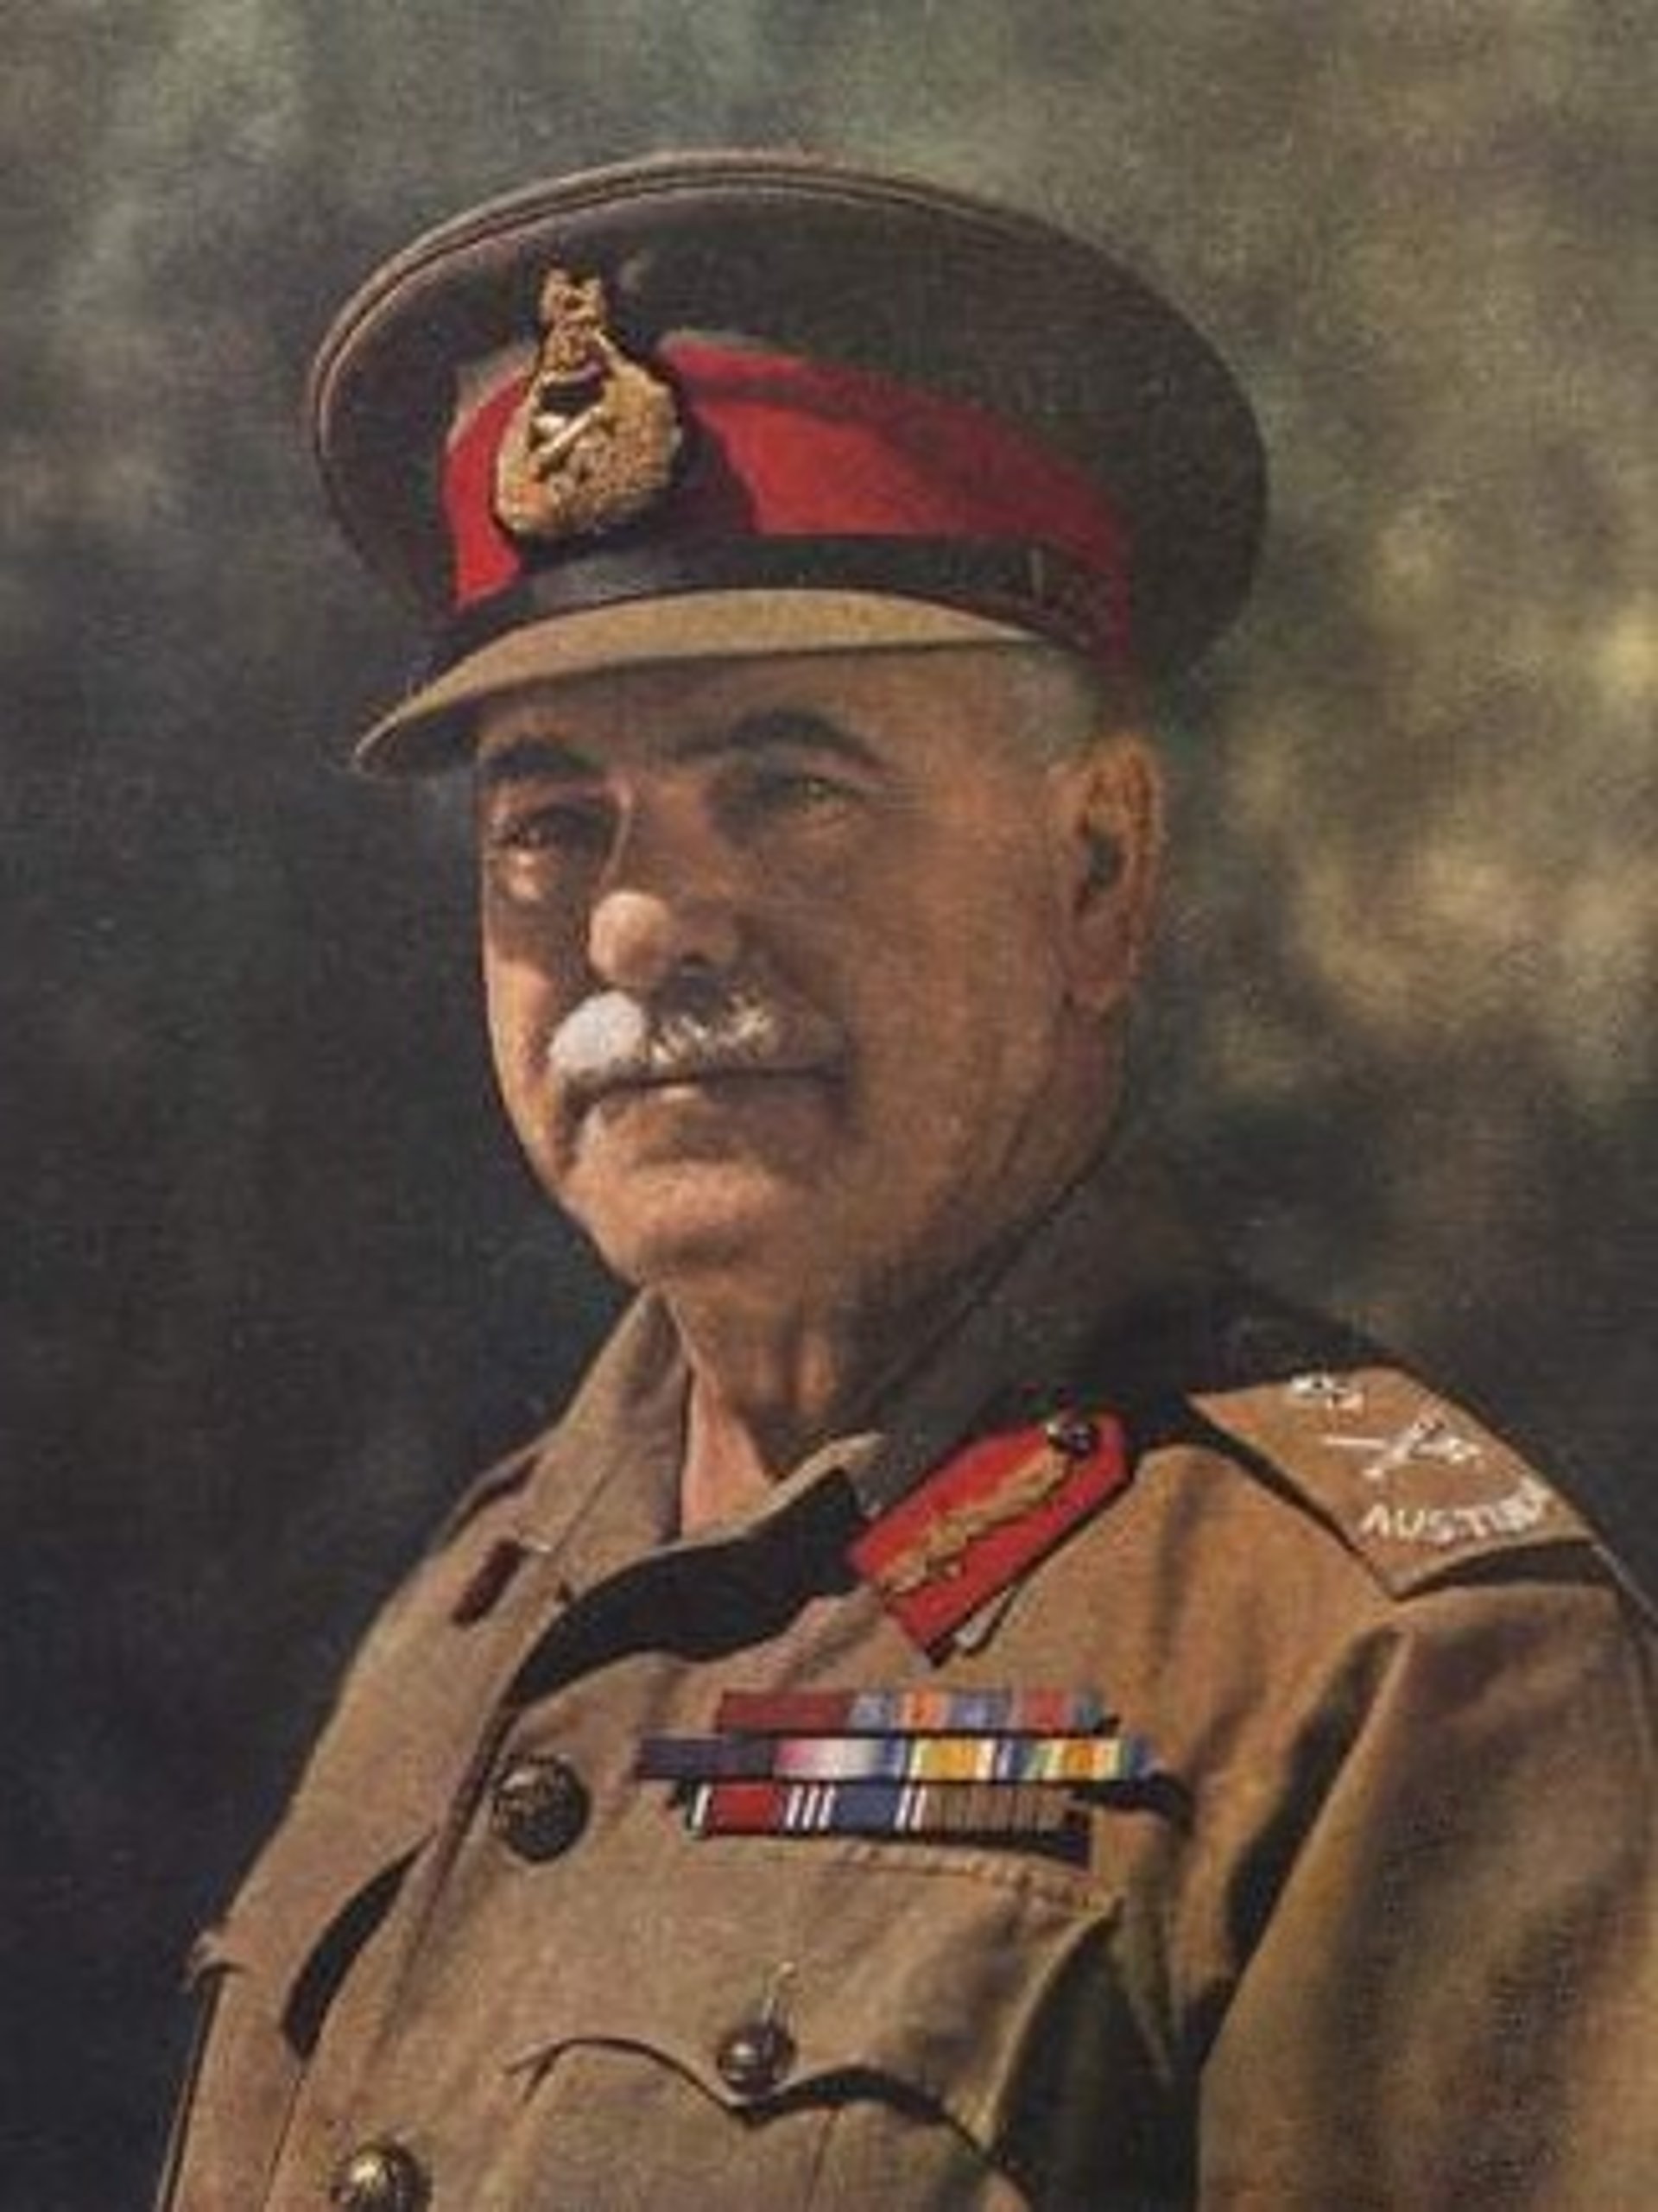
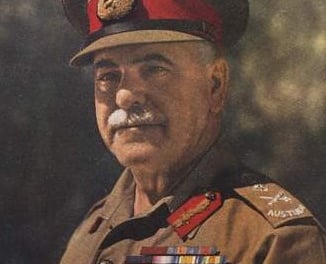
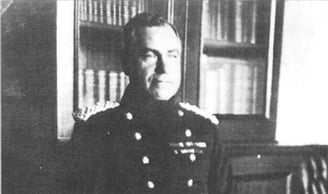
Sir Thomas Blamey
The Man Behind the 6th Division Command
Descent into Hell, Episode 11: Sir Thomas Blamey – The Man Behind the 6th Division Command
In 1939, as the world teetered on the brink of global conflict, the formation of the Second Australian Imperial Force (AIF) became a critical task. Among the key decisions was the appointment of Sir Thomas Blamey as the commander of the 6th Division. His selection was shaped by his extensive military experience, political connections, and a career that had seen both commendations and controversies.
WW2 HISTORYDESCENT INTO HELLIN THEIR FOOTSTEPS BLOG
Toursofwar.com
7/24/20247 min read
Early Life and Military Beginning
A Proven Leader
Sir Thomas Blamey was born on January 24, 1884, at Lake Albert near Wagga Wagga, New South Wales. His early military career began with his commissioning into the Commonwealth Cadet Forces in 1906. Blamey quickly advanced, joining the Australian Military Forces in 1910, where his commitment to professional military education saw him attending the prestigious Quetta Staff College in British India. This experience was formative, giving him exposure to British military doctrine and tactics that would influence his leadership style.
Blamey’s career took a significant turn when he was attached to the British Army, where he gained invaluable experience that set him apart from many of his peers. By the outbreak of World War I, Blamey was already working in the War Office in London, a role that positioned him at the heart of military planning and operations.
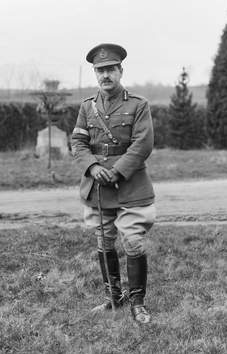
Major General
Thomas Blamey (55)
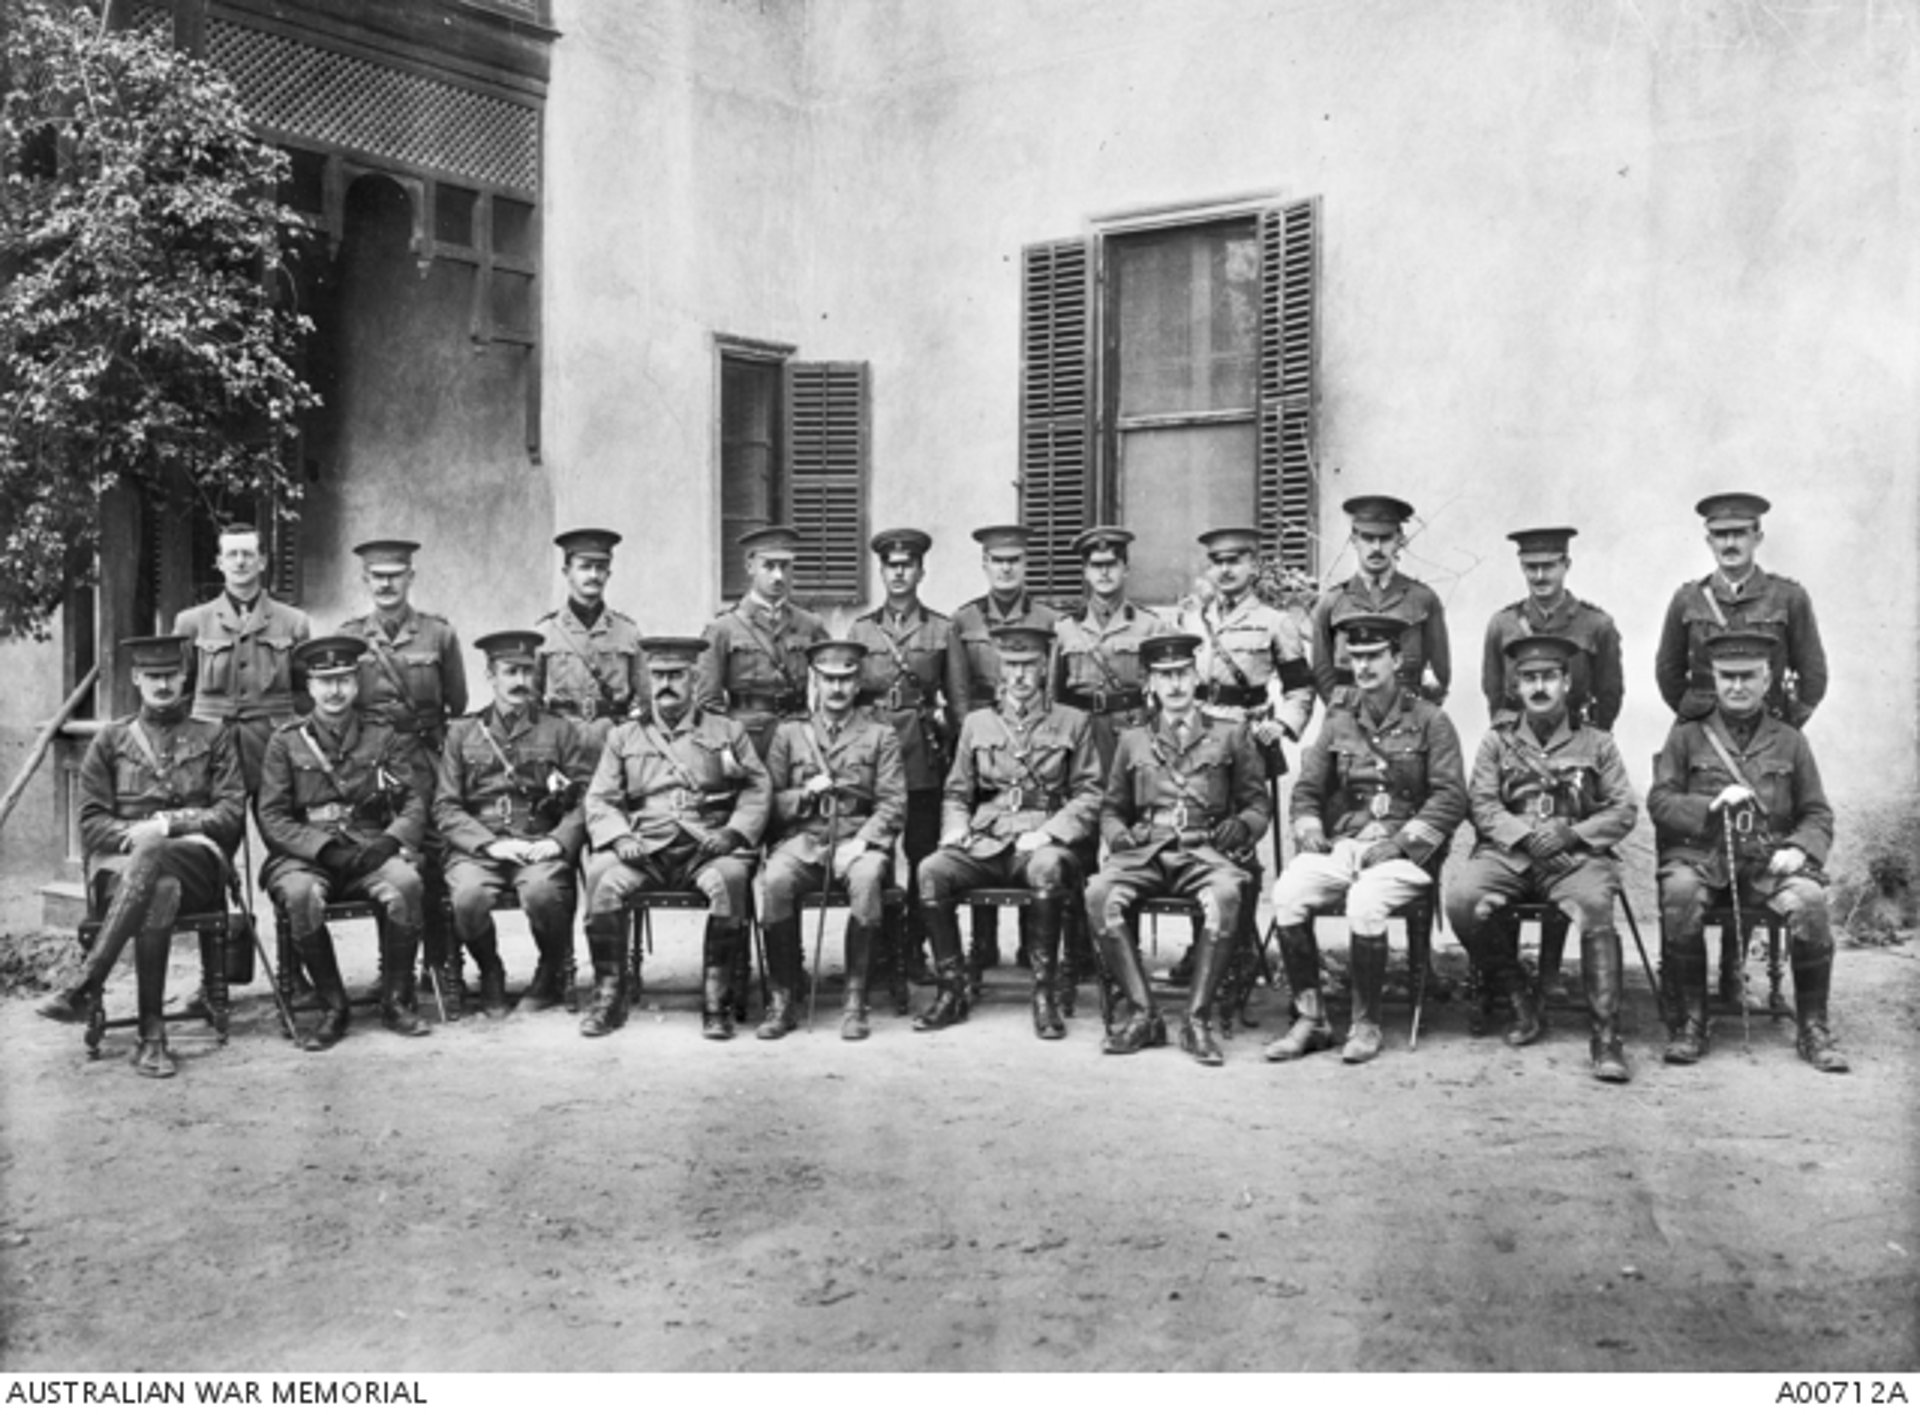
Blamey had a storied military career, with significant contributions during World War I, including his role in the Gallipoli campaign and on the Western Front. His post-war career involved high-level staff roles, giving him a deep understanding of both strategy and logistics.
Experience
Key Benefits to Selection
Strategic Vision: Blamey’s experience in both command and staff positions provided him with a broad perspective on military operations, making him a strong candidate for leading a complex division.
Organizational Skills: His ability to manage large-scale operations and his familiarity with military bureaucracy would be invaluable in ensuring the division’s smooth functioning.

Did You Know? Blamey’s Early Influence
Blamey’s time at Quetta Staff College in British India was instrumental in shaping his approach to military strategy, providing him with exposure to the British Army’s methods and tactics, which he later applied in his own command roles.
Military Career and Key Assignments
Early Military Service
1906: Commissioned into the Commonwealth Cadet Forces.
1910: Joined the Australian Military Forces.
1914-1918: World War I, served as Chief of Staff to General Sir John Monash.
Blamey's military career began with his commission into the Commonwealth Cadet Forces in 1906. By 1910, he had joined the Australian Military Forces and rapidly progressed through the ranks due to his competence and commitment. His strategic education at Quetta Staff College in British India further enhanced his capabilities.

World War I
World War I Service
Blamey’s service during World War I was marked by his significant contributions as Chief of Staff to General Sir John Monash. In this role, Blamey was integral to the success of the Australian Corps on the Western Front, where his organizational skills and tactical acumen were pivotal.
Post-World War I Roles
1925-1939: Served in various high-ranking military and public service positions, including as Chairman of the NSW Repatriation Board and Commander of the 2nd Division.
After World War I, Blamey continued to serve in prominent military and public roles, including commanding the 2nd Division as a Major General. His leadership in these roles further established his qualifications for commanding the 6th Division during World War II.
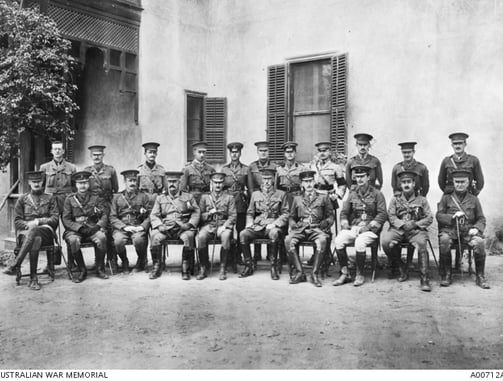
Strategic Brilliance Behind Success
Blamey’s abilities truly came to the fore during World War I when he served as Chief of Staff to General Sir John Monash, one of Australia's most renowned military leaders. This role was critical, as Blamey was responsible for planning and executing many of the strategies that led to the Australian Imperial Force’s successes. His work behind the scenes ensured that Monash’s forces were always well-prepared and that operations were conducted with precision and effectiveness.
Mutual Respect and Influence:
The professional relationship between Monash and Blamey was one of mutual respect and synergy. Monash’s rise to prominence was, in part, a reflection of Blamey’s capabilities as his chief of staff. Blamey’s strategic planning and administrative skills were instrumental in the AIF’s victories, making him an indispensable figure in the success of Australian forces during the war.
Strengths as a Commander
Senior Position in the Army:
At the start of World War II, Blamey was the second most senior officer in the Australian Army, positioning him as a natural choice for leading the newly formed 6th Division.
Proven Military Experience:
Blamey’s extensive experience from World War I, particularly his role as Monash’s Chief of Staff, showcased his operational prowess and strategic acumen, making him a valuable asset in the formation of the 6th Division.
Political Connections:
His established relationships with key political figures, including Prime Minister Robert Menzies, played a significant role in his appointment. Menzies, familiar with Blamey from his time as Chief Commissioner of Police in Victoria, likely saw Blamey’s leadership as crucial to Australia’s war effort.
Support for Australian Forces:
Blamey was known for his strong advocacy for the autonomy of Australian forces within the broader Allied command structure. This commitment to Australian interests endeared him to both political leaders and military personnel, further bolstering his candidacy for the 6th Division command.
Key Factors in Blamey’s Selection
Consideration on Command
Did You Know? Post-War Career
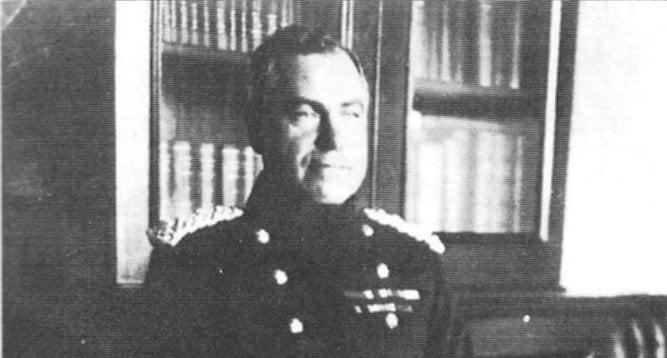
After World War I, Blamey continued to play a significant role in Australia’s military and public life. He served as the Chief Commissioner of Police in Victoria, where he was involved in significant reforms, though his tenure was not without controversy.
Weaknesses
Controversial Past
Blamey’s tenure as Chief Commissioner of Police in Victoria was fraught with controversy, including allegations of misconduct. This past raised questions about his integrity and suitability for high command, casting a shadow over his military career.
Key Point: His controversial past led to doubts about his leadership, potentially undermining confidence in his command.
Strained Relationships
Blamey’s authoritative and often confrontational leadership style created tensions with both subordinates and peers. This strain made it difficult for him to maintain a cohesive and harmonious command environment, which is vital for effective military leadership.
Key Point: His confrontational style contributed to friction within his command, complicating teamwork and morale.
Strengths
Decisive Leadership
Blamey’s ability to make swift and effective decisions was a hallmark of his command style, particularly in high-pressure situations. His decisiveness ensured that his troops received clear and prompt directives, which was crucial during the rapidly changing conditions of war.
Key Point: Quick and clear decision-making in critical moments helped maintain operational momentum.
Organizational Prowess
With a foundation built during his tenure as Chief of Staff under General Sir John Monash, along with his formal military education, Blamey became a highly organized and efficient leader. His meticulous planning and strategic thinking were instrumental in the formation and management of the 6th Division.
Key Point: His experience and education contributed to his ability to effectively organize and lead large-scale military operations.
Political Savvy
Blamey’s strong connections with influential political figures, including Prime Minister Robert Menzies, enabled him to navigate the complex intersection of military and government interests. This political acumen allowed him to secure the resources and support needed for his division.
Key Point: Blamey’s political relationships were crucial in securing support for his military initiatives.
Strengths and Weaknesses
Conclusion
Blamey’s selection as the commander of the 6th Division was not solely based on his military experience and seniority; it was also significantly influenced by his political connections. His decisive leadership and organizational skills were vital to his success, yet his controversial past and often strained relationships with peers and subordinates presented challenges that would shape his command style and effectiveness.
In the next episode, we will delve deeper into Blamey’s command decisions and how they influenced the 6th Division as they confronted the daunting challenges of World War II. We'll explore the impact of his leadership on the battlefield and the lasting legacy of his actions during this critical period in history.
How You Can Help
Donations and Sponsorships: We are seeking corporate sponsorships and donations to fund ongoing restoration projects and educational programs. Your support can make a significant difference in maintaining the quality and impact of the museum.
Volunteer Opportunities: If you have expertise or time to offer, consider volunteering with us. There are many ways to get involved, from artifact restoration to educational outreach.
Spreading the Word: Share this blog and our mission with your network. The more people who know about the JEATH War Museum and its significance, the greater the impact we can achieve together.
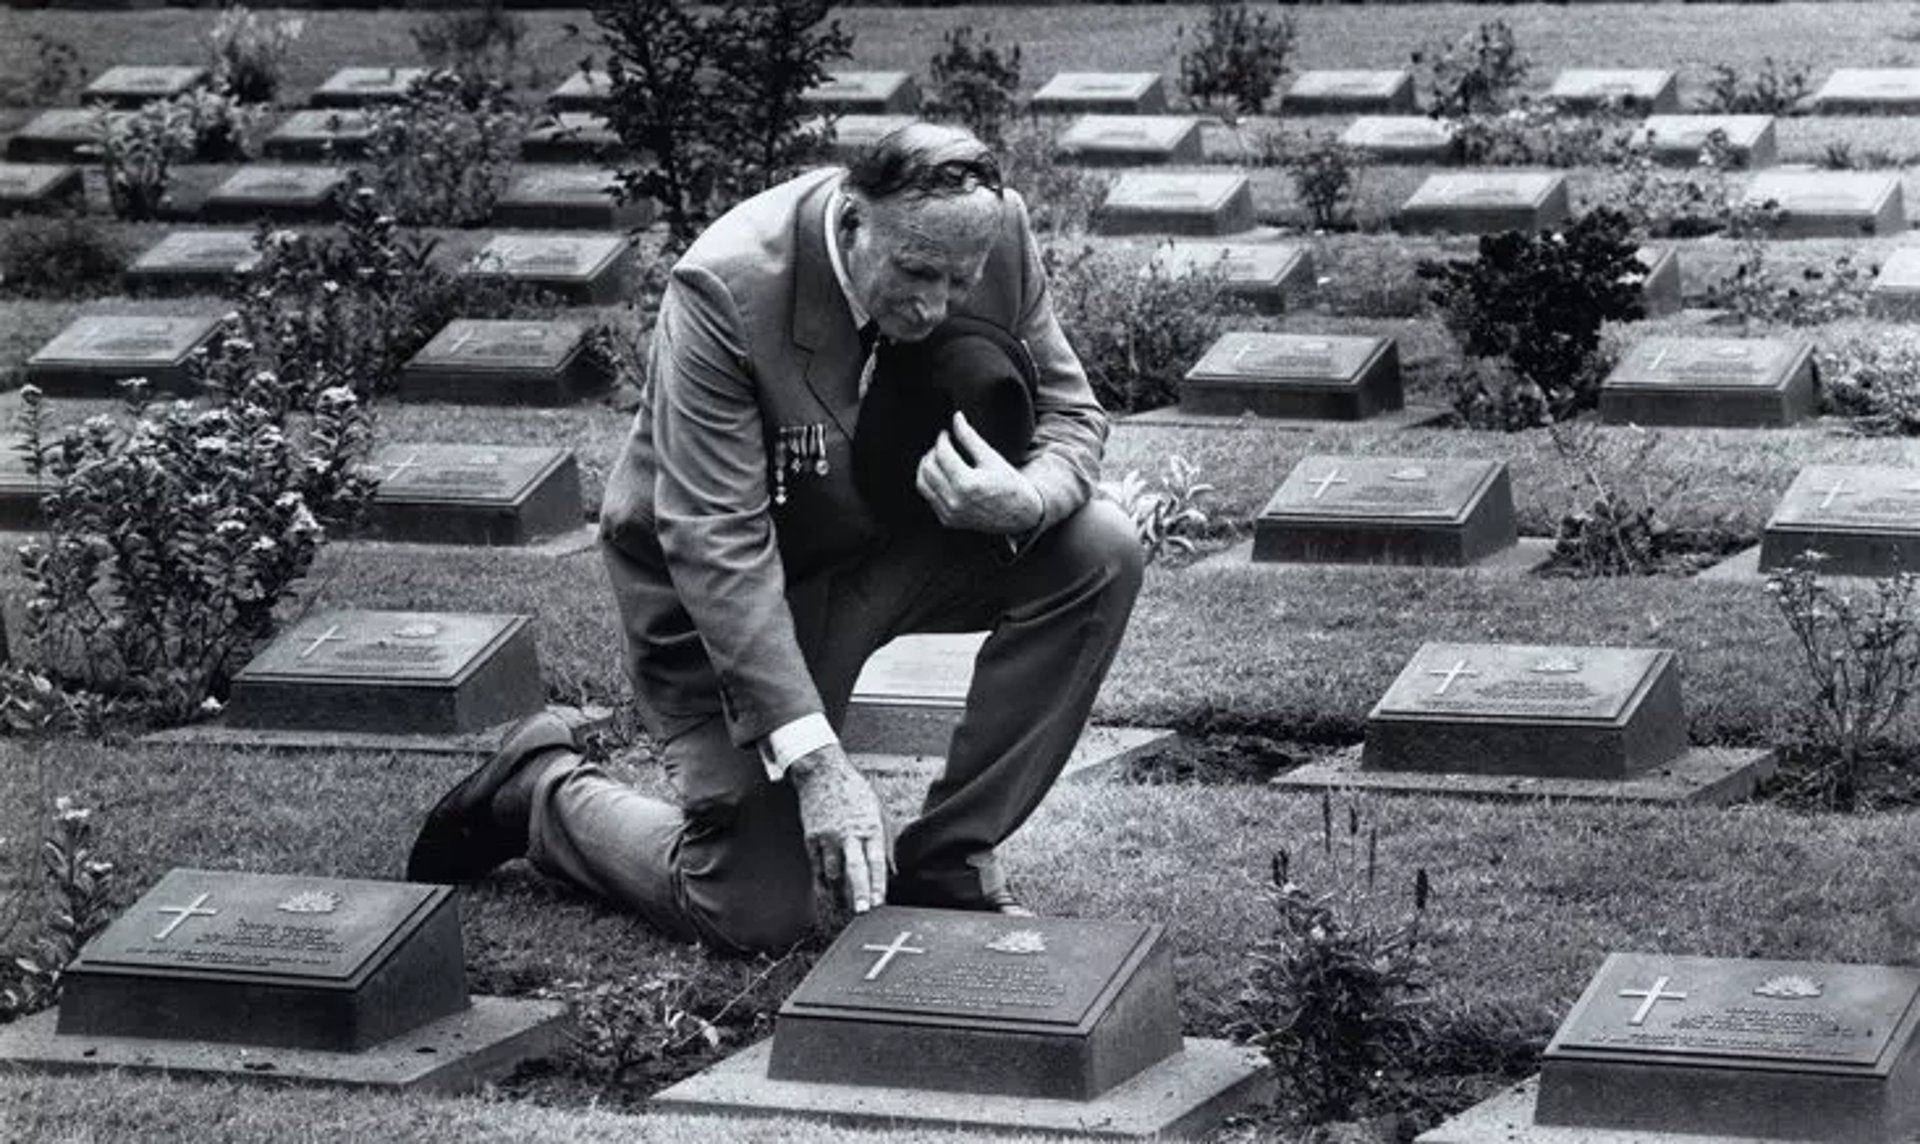
The St Andrews Research Team is dedicated to preserving the legacy of the Thai-Burma Railway and the memories of those who suffered. We need your support to continue our work. There are several ways you can help:
Join the Cause!
If you or someone you know is interested in supporting this cause, please get in touch.
This is a chance to be part of something truly meaningful and impactful.

Together, We Can Make a Difference!
This is a veteran-run project, and we need your help to make it happen. Stand with us in honoring the legacy of the POWs and ensuring their stories are never forgotten.