
You didn’t come this far to stop
Raising of Australian Divisions
Descent into Hell, Episode 9: Raising of Australian Divisions
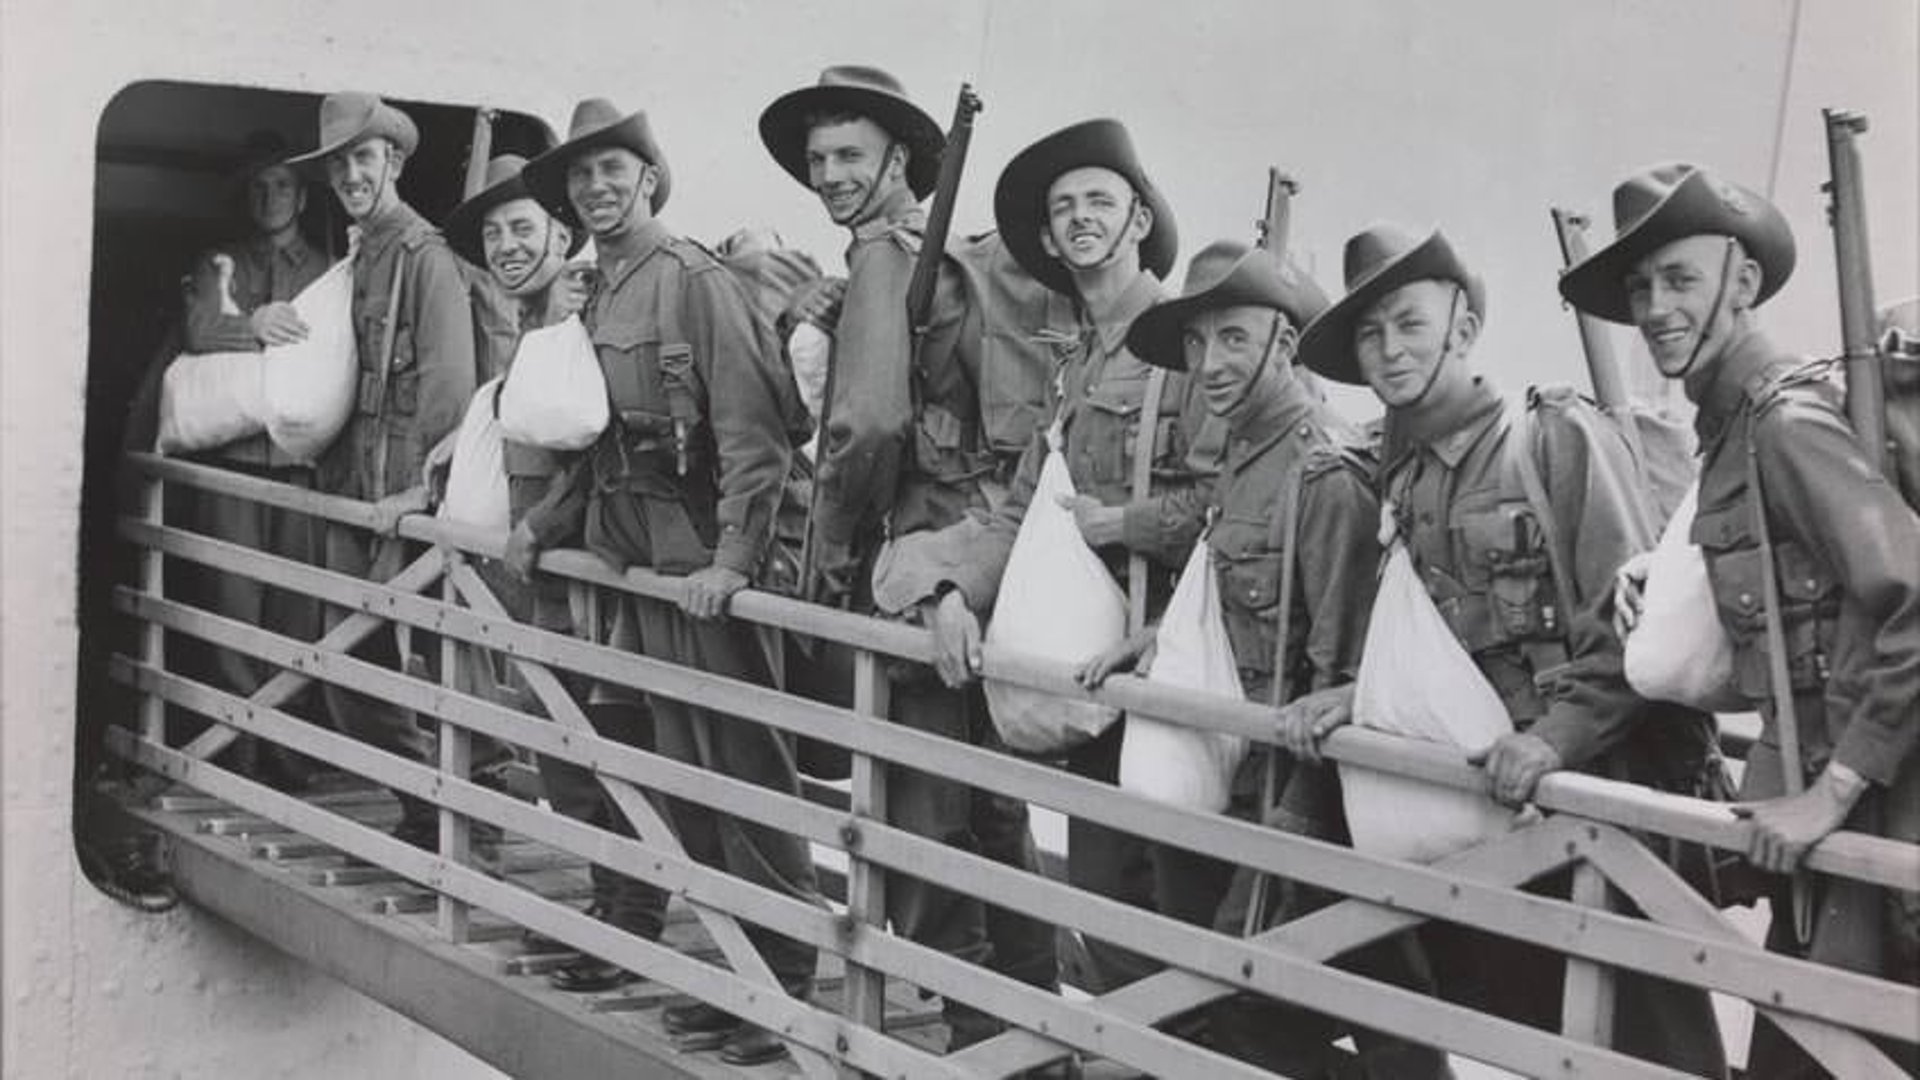
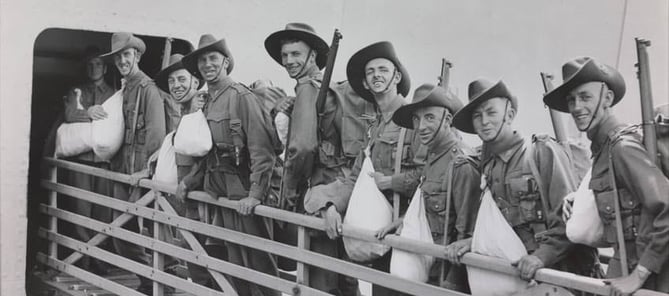
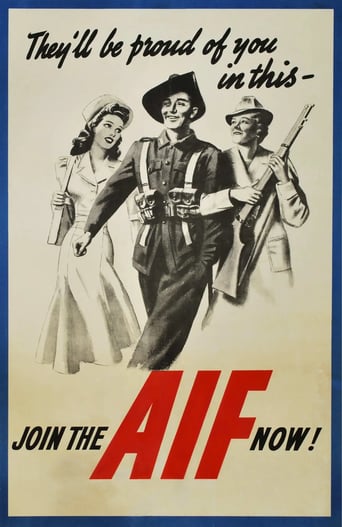
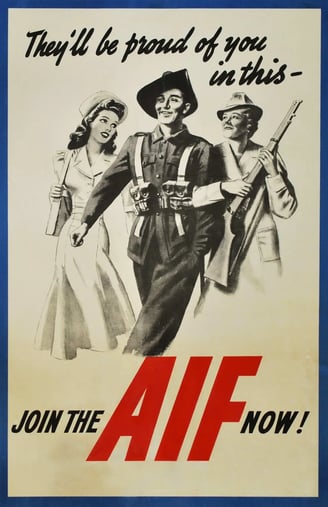
The Formation of the 6th Division AIF On September 15, 1939, just twelve days after the declaration of war against Nazi Germany, Australian Prime Minister Robert Menzies announced the formation of a second Australian Imperial Force (AIF). This new force, known as the 6th Division AIF, was created to bolster the existing Australian militia, which had four divisions and an element of a fifth. The new division, comprising approximately 20,000 men and auxiliary units, was prepared for both domestic and overseas service.
WW2 HISTORYDESCENT INTO HELLIN THEIR FOOTSTEPS BLOG
Toursofwar.com
7/22/20246 min read
A Closer Look
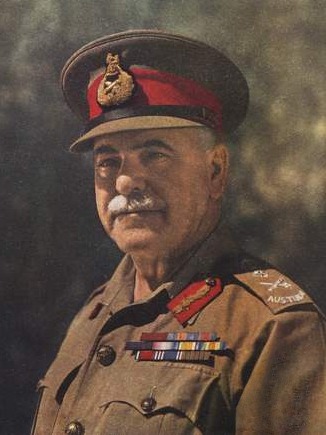
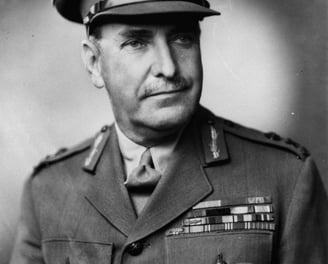
Major General Henry Gordon Bennett (52 years old)
Major General Sir Thomas Blamey (55 years old)
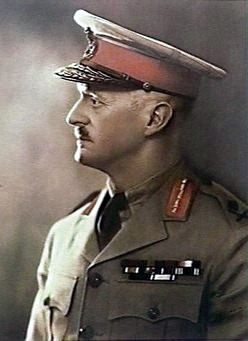
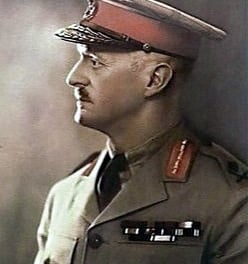
Major General John Lavarack (53 years old)
General Sir Kyle Jess (55 years old)
Major General Phillips (57 years old)
Major General Drake Brockman (55 years old)
Major General Even Mackay (57 years old)
Candidates for Command
The formation of the 6th Division brought forth several candidates for command, each with significant military backgrounds. The selection process was critical, as the chosen leader would directly influence the division's success. The seven candidates, listed in order of seniority, included:

Among these, Major General Bennett, Blamey, and Lavarack emerged as the primary candidates for leadership of the new division. Their unique experiences and leadership styles made them strong contenders, each bringing different strengths to the table.
The Command Candidates and Their Selection
Major General
Henry Gordon Bennett (52)
Bennett was a veteran of World War I, where he had demonstrated remarkable bravery and leadership. After the war, he continued to rise through the ranks, known for his straightforward and decisive command style. Bennett was well-regarded for his ability to lead troops in challenging situations.
Experience
Key Benefits to Selection
Combat Experience: Bennett’s extensive frontline experience made him an attractive choice for leading a division in active combat.
Leadership Qualities: His no-nonsense approach to command ensured discipline and effectiveness within his units, qualities essential for a newly formed division.
Major General
Sir Thomas Blamey (55)
Blamey had a storied military career, with significant contributions during World War I, including his role in the Gallipoli campaign and on the Western Front. His post-war career involved high-level staff roles, giving him a deep understanding of both strategy and logistics.
Experience
Key Benefits to Selection
Strategic Vision: Blamey’s experience in both command and staff positions provided him with a broad perspective on military operations, making him a strong candidate for leading a complex division.
Organizational Skills: His ability to manage large-scale operations and his familiarity with military bureaucracy would be invaluable in ensuring the division’s smooth functioning.

Major General
John Lavarack (53)
Lavarack was known for his strategic insights and had held several important command positions within the Australian Army. His emphasis on training and preparedness made him a respected figure among his peers.
Experience
Key Benefits to Selection
Training Focus: Lavarack’s commitment to thorough training ensured that his troops were well-prepared for the challenges they would face in battle.
Strategic Acumen: His deep understanding of military strategy and his forward-thinking approach made him a strong contender for command, particularly in a rapidly evolving conflict like World War II.

Did You Know? Australia’s Military Contribution

Australia was one of the first countries to commit forces to the Allied cause in World War II, with the 6th Division AIF playing a crucial role in various theaters of war, including North Africa and the Middle East.
The British Chiefs of Staff and military leaders in Singapore recognized that the defense of Malaya was crucial for Singapore’s survival. Extensive military exercises and assessments highlighted the need for robust ground defenses, a view that was starkly at odds with Churchill’s belief in the sufficiency of naval power alone.
Structure and Equipment of the Newly Formed Division
The Composition of the 6th Division AIF
Infantry Brigades
The 6th Division AIF, raised in 1939, was initially structured with the following brigades:
Small Arms: Lee-Enfield rifles, Bren light machine guns.
Support Weapons: Mortars, anti-tank rifles.
Troop & Numbers
16th Infantry Brigade:
2/6th Battalion
2/7th Battalion
2/8th Battalion

Approx. 10,000 men across brigades.
17th Infantry Brigade:
18th Infantry Brigade:
2/12th Battalion
2/13th Battalion
2/14th Battalion
2/9th Battalion
2/10th Battalion
2/11th Battalion
Artillery Units
Provided essential fire support, critical in both offensive and defensive operations.
Field Guns: Ordnance QF 25-pounder.
Anti-Aircraft: Bofors 40 mm gun.
Troop & Numbers
2nd Field Regiment
- 8th Field Battery
- 9th Field Battery
- 10th Field Battery
Approx. 2,000 men
4th Anti-Aircraft Regiment:
- 4th Anti-Aircraft Battery
- 5th Anti-Aircraft Battery
Engineer Units
Specialized in fortifications, demolitions, and clearing obstacles, ensuring the division's mobility and protection.
Tools and Equipment: Bailey bridges, demolitions equipment, engineering vehicles.
Troop & Numbers
2nd Field Company
- 1st Field Platoon
- 2nd Field Platoon
- 3rd Field Platoon
2nd Bridging Platoon

Approx. 800 men
Armored Units
Offered mobile firepower and protection, crucial for support roles, though limited in numbers.
Tanks: Matilda II infantry tanks (introduced later in the war).
Armored Cars: Marmon-Herrington Armored Car.
Troop & Numbers
2nd Armored Regiment:
- 1st Armored Squadron
- 2nd Armored Squadron
- 3rd Armored Squadron
Approx. 500 men
Medical and Supply Units
Ensured the health and efficiency of the division by maintaining steady supply lines and medical care, essential for sustained operations.
Medical Equipment: Field hospitals, ambulances.
Supply Vehicles: General service trucks, field kitchens
Troop & Numbers
2nd Field Ambulance:
- 1st Medical Section
- 2nd Medical Section
- 3rd Medical Section


Approx. 1200 men
2nd Supply Column:
- 1st Supply Platoon
- 2nd Supply Platoon
Did You Know? Churchill’s Misjudgment
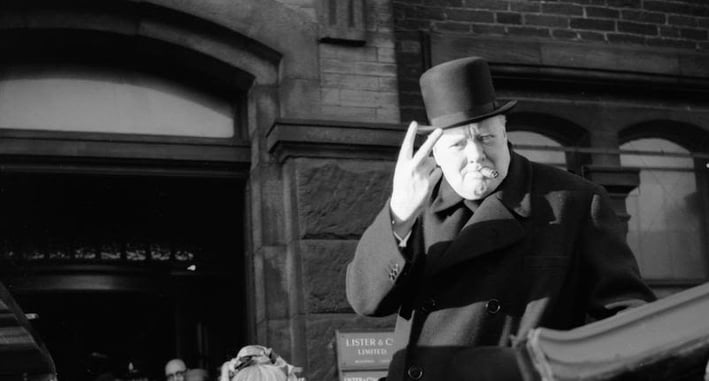
Churchill’s overconfidence in naval power as the primary means of defending Singapore was a significant strategic error, as it underestimated the Japanese military’s capabilities on land, which would later lead to the swift fall of Singapore.
The 6th Division AIF was not just a formation of infantry but a well-rounded military force with diverse units equipped to handle various combat scenarios. The combination of infantry, artillery, engineers, and armored units ensured that the division was prepared for the complexities of modern warfare.
Australia’s Contribution to the Allied War Effort
The Role of Australian Divisions
Transitioning Focus to the Australian Forces
Shifting the Spotlight to Australian Leadership
As the 6th Division AIF was established and organized, Australia’s commitment to the Allied cause in World War II became increasingly significant. The selection of commanding officers and the composition of the division’s units were crucial steps in ensuring that the division was well-prepared for the challenges ahead.
Conclusion
In the next episode, we will shift our focus to the individual generals who led these divisions. We’ll explore their leadership styles, the challenges they faced, and how their decisions shaped the course of Australia’s involvement in World War II. This examination will provide deeper insight into how the Australian forces, under new leadership, became a formidable force in the Pacific theater.
How You Can Help
Donations and Sponsorships: We are seeking corporate sponsorships and donations to fund ongoing restoration projects and educational programs. Your support can make a significant difference in maintaining the quality and impact of the museum.
Volunteer Opportunities: If you have expertise or time to offer, consider volunteering with us. There are many ways to get involved, from artifact restoration to educational outreach.
Spreading the Word: Share this blog and our mission with your network. The more people who know about the JEATH War Museum and its significance, the greater the impact we can achieve together.
The St Andrews Research Team is dedicated to preserving the legacy of the Thai-Burma Railway and the memories of those who suffered. We need your support to continue our work. There are several ways you can help:
Join the Cause!
If you or someone you know is interested in supporting this cause, please get in touch.
This is a chance to be part of something truly meaningful and impactful.
Together, We Can Make a Difference!
This is a veteran-run project, and we need your help to make it happen. Stand with us in honoring the legacy of the POWs and ensuring their stories are never forgotten.